Installation
Docker is the recommended mode of installation. If you are a developer, you may be interested in the development guide.
Unlock paid features such as Bases, SSO, AI, Audit logs, and SCIM provisioning. Start an enterprise trial at customers.docmost.com to generate a license key.
Prerequisites
Before you begin, make sure you have Docker installed on your server. See the official Docker installation guide based on your OS.
If you use Ubuntu, you can install Docker with the commands below:
Click to see Ubuntu docker installation commands
    # Add Docker's official GPG key:
    sudo apt-get update -qqy
    sudo apt-get install ca-certificates curl -qqy
    sudo install -m 0755 -d /etc/apt/keyrings
    sudo curl -fsSL https://download.docker.com/linux/ubuntu/gpg -o /etc/apt/keyrings/docker.asc
    sudo chmod a+r /etc/apt/keyrings/docker.asc

    # Add the repository to Apt sources:
    echo \
      "deb [arch=$(dpkg --print-architecture) signed-by=/etc/apt/keyrings/docker.asc] https://download.docker.com/linux/ubuntu \
      $(. /etc/os-release && echo "$VERSION_CODENAME") stable" | \
      sudo tee /etc/apt/sources.list.d/docker.list > /dev/null
    sudo apt-get update -qqy
    sudo apt-get install docker-ce docker-ce-cli containerd.io docker-compose-plugin -qqy
Installation Steps
1. Setup the Docker compose file
Create a new directory for Docmost and download the Docker compose file with commands below:
mkdir docmost
cd docmost
curl -O https://raw.githubusercontent.com/docmost/docmost/main/docker-compose.yml
Next, open the docker-compose.yml file. On Linux, you can use vim:
vi docker-compose.yml
The downloaded docker-compose.yml file should contain the template below with default environment variables.
APP_URL should be the domain you can access docmost from. e.g https://docmost.example.com
services:
  docmost:
    image: docmost/docmost:latest
    depends_on:
      - db
      - redis
    environment:
      APP_URL: "http://localhost:3000"
      APP_SECRET: "REPLACE_WITH_LONG_SECRET"
      DATABASE_URL: "postgresql://docmost:STRONG_DB_PASSWORD@db:5432/docmost"
      REDIS_URL: "redis://redis:6379"
    ports:
      - "3000:3000"
    restart: unless-stopped
    volumes:
      - docmost:/app/data/storage

  db:
    image: postgres:18
    environment:
      POSTGRES_DB: docmost
      POSTGRES_USER: docmost
      POSTGRES_PASSWORD: STRONG_DB_PASSWORD
    restart: unless-stopped
    volumes:
      - db_data:/var/lib/postgresql

  redis:
    image: redis:8
    command: ["redis-server", "--appendonly", "yes", "--maxmemory-policy", "noeviction"]
    restart: unless-stopped
    volumes:
      - redis_data:/data

volumes:
  docmost:
  db_data:
  redis_data:
For health check, a dedicated endpoint is available at YOUR_URL/api/health.
Replace the default configs
You are to replace the default environment variables in the docker-compose.yml file.
The APP_URL should be replaced with your chosen domain. E.g. https://example.com or https://docmost.example.com.
The APP_SECRET value must be replaced with a long random secret key (32 characters minimum).
You can generate the secret with openssl rand -hex 32. If you leave the default value, the app will fail to start.
Replace STRONG_DB_PASSWORD in the POSTGRES_PASSWORD environment variable with a secure password.
Update the DATABASE_URL default STRONG_DB_PASSWORD value with your chosen Postgres password.
To configure Emails or File storage driver, see the Configuration doc.
The default File storage driver is local storage. You don't have to do anything unless you wish to use S3 or Azure Blob Storage.
Start the Services
Make sure you are inside the docmost directory which contains the docker-compose.yml file.
To start the services, run:
docker compose up -d
Once the services are up and running, verify the installation by opening your web browser and navigating to:
http://localhost:3000 or the domain that points to your server.
If all is set, you should see the Docmost setup page which will enable you set up your workspace and account.
To set up a custom domain and SSL, see our reverse-proxy guide
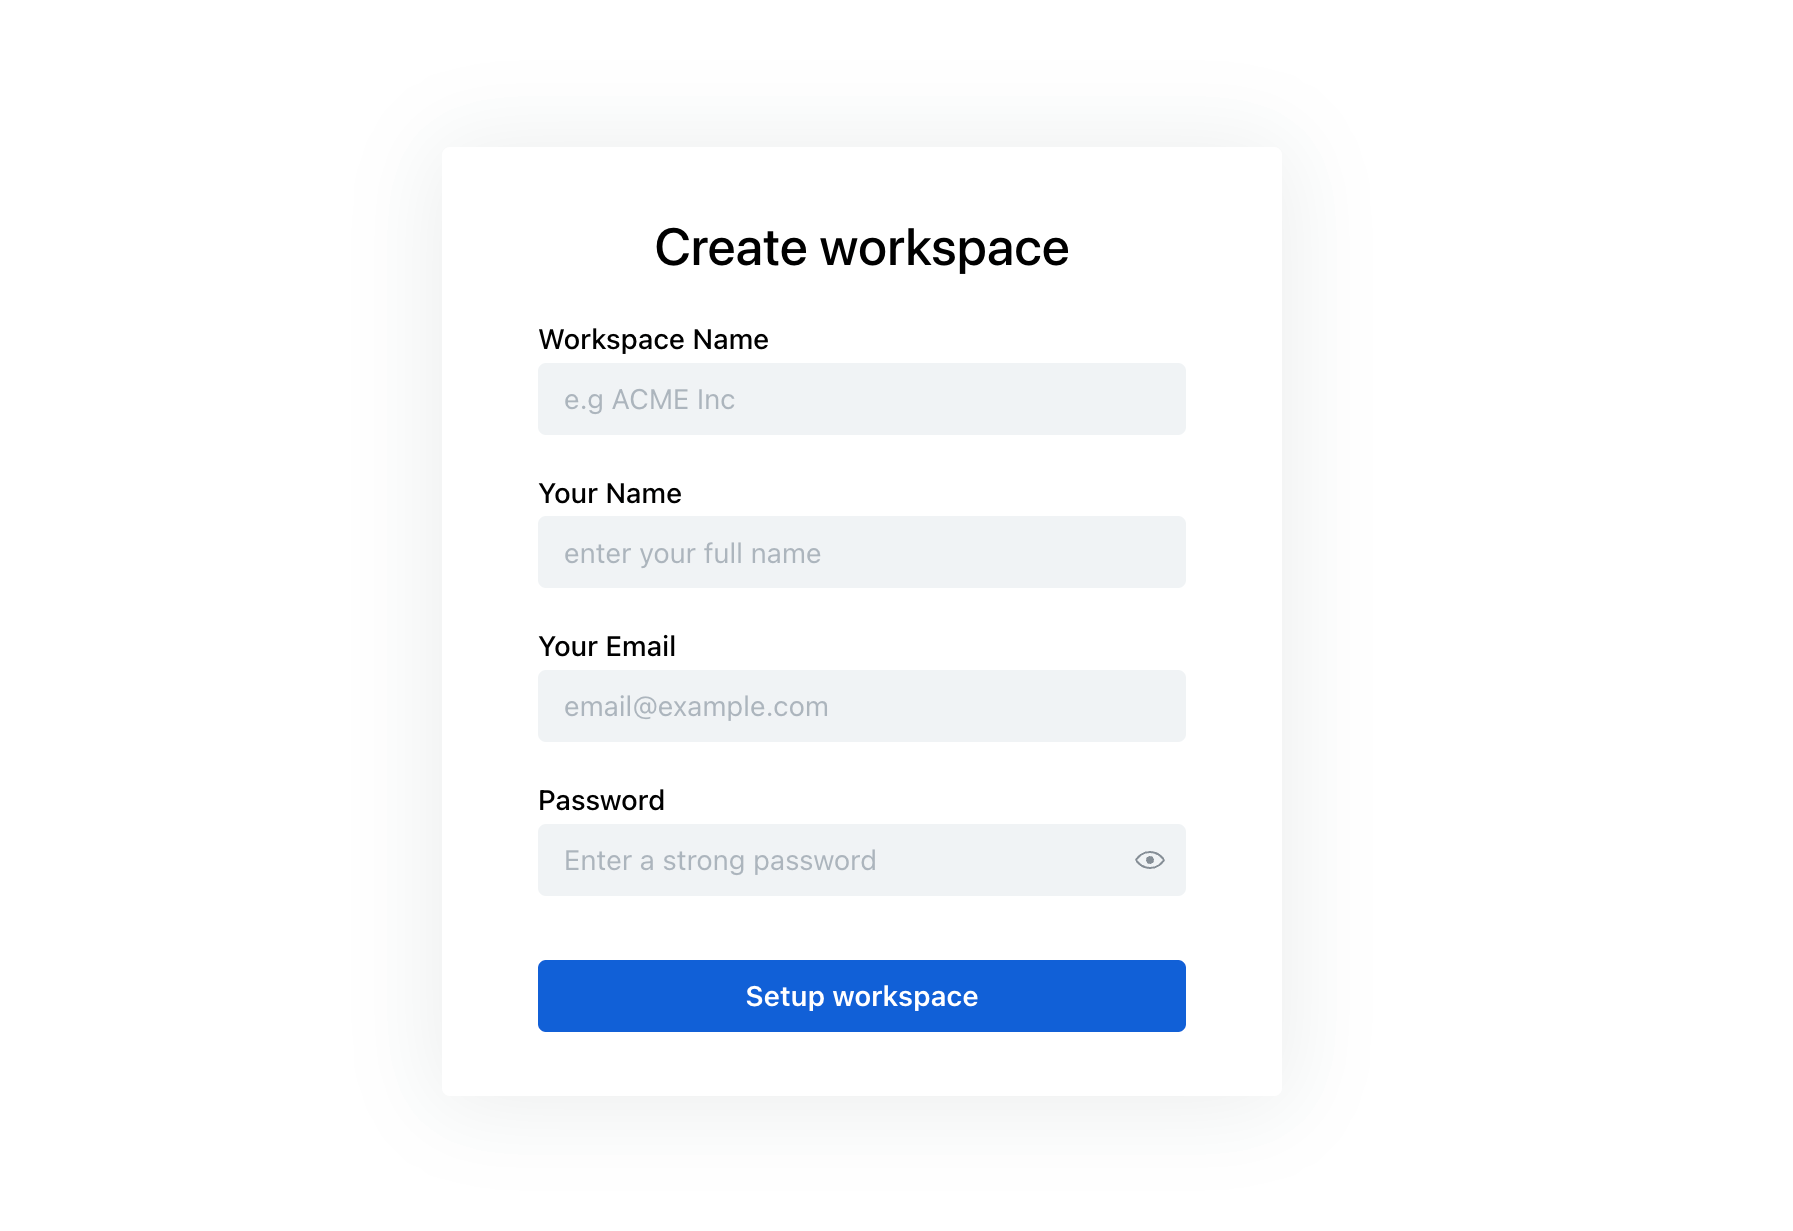
After a successful setup, you will become the workspace owner. You can then invite other users to join your workspace. Congratulations 🎉.
If you are using a reverse proxy, make sure WebSockets is enabled. The real-time page editor depends on WebSockets to work.
If you encounter any issues, feel free to create a discussion on the GitHub repo.
Upgrade
We recommend backing up your database before upgrading to a new release.
Run the commands below from the directory containing docker-compose.yml.
Using latest
If your image is docmost/docmost:latest, run:
docker compose pull docmost
docker compose up -d --force-recreate docmost
Using a specific version
Change the docmost image tag in docker-compose.yml to the version you want to install. See GitHub Releases for available versions.
For example, to upgrade from 0.96.0 to 0.97.0, change:
image: docmost/docmost:0.96.0
to:
image: docmost/docmost:0.97.0
Save the file, then run:
docker compose pull docmost
docker compose up -d --force-recreate docmost
Helpful docker commands
To view Docmost logs:
docker compose logs -f docmost
To stop the services:
docker compose down
To restart the services:
docker compose restart